User Interface Tour Video Posted

For those of you interested in using the WebsiteUpgradeTester.com visual testing tool to test your website upgrade, we just posted a new video that walks you through the tool’s user interface.
It’s a great way to get familiar with the tool and its features.
Video Transcript
Welcome to Website Upgrade Tester.com, the new cloud-based tool that helps you test any upgrade, service pack or security patch to your website.
In this short video, I’m going to walk you through the User Interface of the cloud-based Website Upgrade Tester tool.
You’ll quickly see how easy it is to get around and use the tool to test your website upgrade.
Ok, let’s get started.
Here we are at WebsiteUpgradeTester.com.
We’re simply going to sign-in to gain access to the Application console.

Here I’m logging in as the Account Administrator for my account. You can set up different levels of permissions for users, but that’s covered in another video.
As Account Admin, I’ll have full access to all the features. Ok, great. I’m in and see the console homepage.
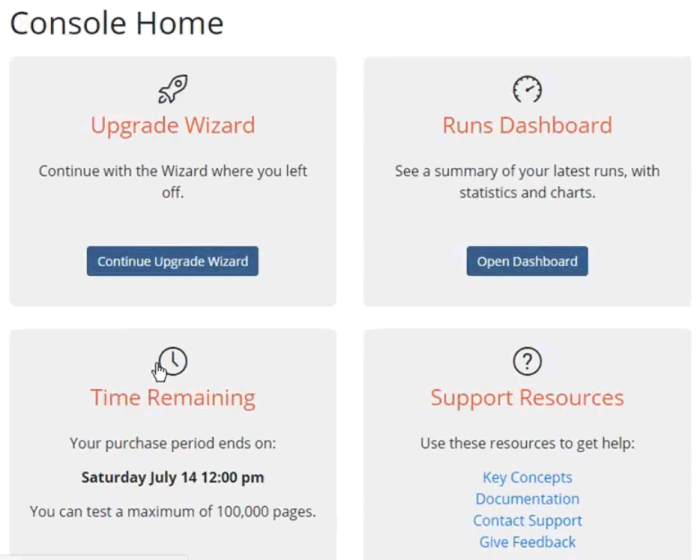
In the center, there are four main pods that give me access to important information.
Website Upgrade Tester comes with a nifty wizard that walks you through your upgrade testing process step-by-step, based on your upgrade environment.
The first pod lets me start or pick-up where I left off in the Wizard. I suggest watching the Wizard video to learn more about that.
The second pod gives me quick access to my Runs Dashboard. A high-level graphical view of the last 4 runs that I have performed.
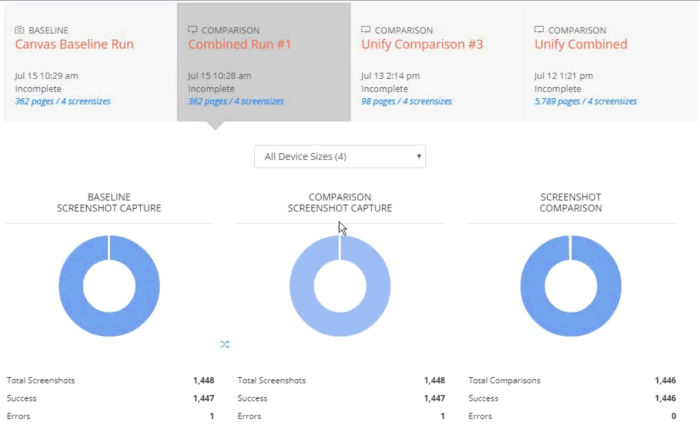
Here I can see the overall status and quickly drill in to see any of the details.
Jumping back to the Console home is easy, just click the first icon in the left-side menu.
Ok, the next two pods are informational. I can see how much time I have left in my purchased period, and I have quick links to all online documentation and support forms.
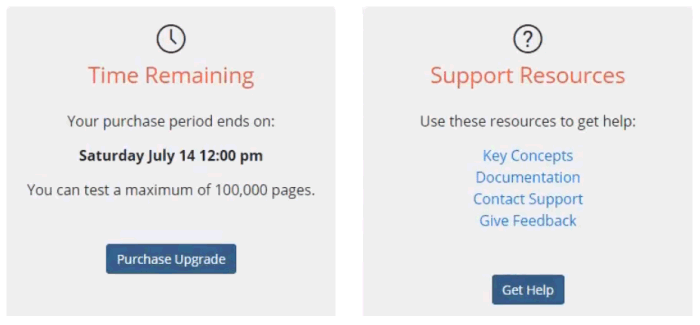
The top dark grey menu bar gives me direct access to get back to the console home, and access to the same documentation/support resources. I can also get context-sensitive help on the current page, or any dialog within the tool.

Next, I can see what my current site is. The tool allows me to create one or more sites and manage them individually under the same account. So if I want to test my internet and intranet sites at the same time, no problem.
The last icon shows my user-name and gives me quick access to manage the account, my profile and to log out.
On the far left, you’ll see a set of icons which give me access to the main functions in the tool.
In order from top to bottom they are:
Baseline Runs – where I can create and manage my pre-upgrade runs which digitally capture each page across multiple screen sizes.

Comparison Runs - where I can create and manage my post-upgrade runs. These digitally capture the same pages post-upgrade and digitally compare the results pixel by pixel.
Page Sets – where I can create and manage the lists of URLs to test under my site

Information – Then, the information icon, which gives me access to account related items like:
- Managing sites
- Managing Users
- My Purchases
Settings – And lastly, Settings which exposes various site-level settings for managing things like:
- Logins
- Capture & Compare Settings
- Screen sizes
- Tags
And several tools for mitigating dynamic content.
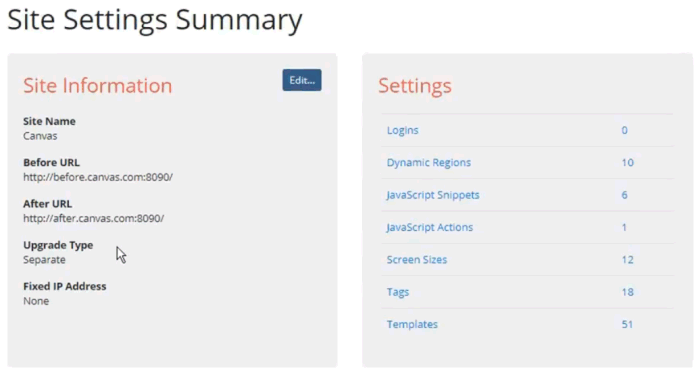
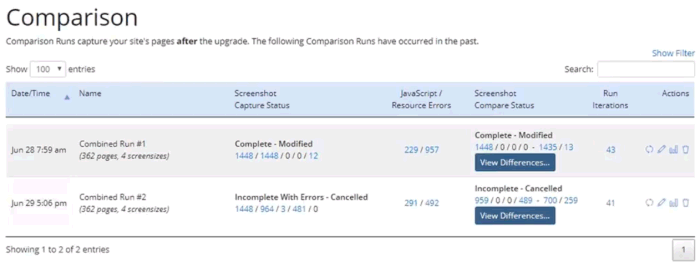
If I look at my Comparisons Runs page, I’ll see a typical listing page.
I can drill into the results to see more details.
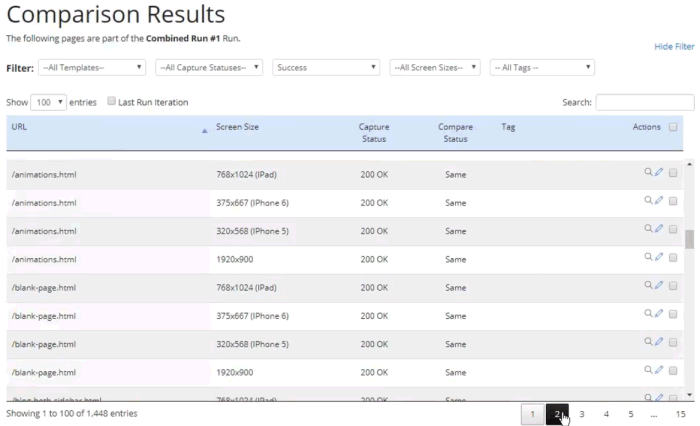
On pages like this you can control how many items are shown per page, can filter the results using various fields, or can search for a specific phrase.
What I’ll ultimately want to see, is what changes, or differences, occurred to my site due to performing the upgrade, applying the service pack or patch.
I can quickly see these differences by paging through them in the Compare Status dialog.
Here you can see the differences in a number of ways:
- Side By Side
- Flicker
- Slider
- Redline screenshot
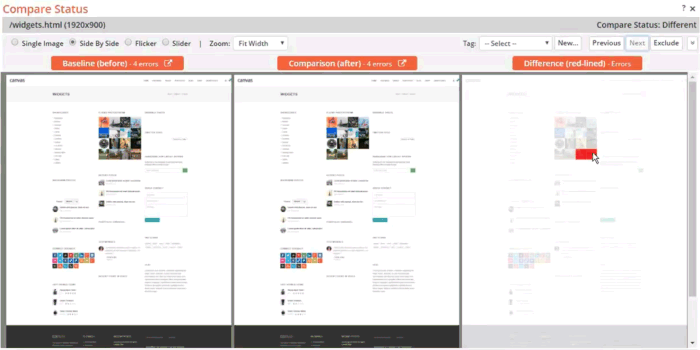
And I can tag those differences so I can come back and address them later.
Ok, that’s it. Hopefully, we have shown you how simple the Website Upgrade Tester interface is to use.
Once you get started, you should be able to get up and running in no time.
Thanks for watching this video on Website Upgrade Tester.com. Be sure to check out our other videos for more detailed information.
---
WebsiteUpgradeTester.com is the only cloud-based, automated, visual testing tool designed to help you efficiently and affordably test your website upgrade. Whether it’s a major version upgrade, service pack or security patch, you can quickly test your entire site, no matter how large, to uncover any lurking issues due to the upgrade.
Don't waste time manually testing your next Website upgrade. Visit WebsiteUpgradeTester.com and sign up for a free trial.
For more detailed information about best practices on upgrading your website and improving your website maintenance processes, we recommend reading The Ultimate Guide to Upgrading and Patching Your Website.
Featured Blog Posts

The Ultimate Guide to Upgrading and Patching Your Website
In this Ultimate Guide to Upgrading and Patching Your Website, we’ll walk you through all of the terms, concepts, ideas, and best practices around upgrading a medium to large scale website. We’ll impart our experiences of helping customers perform and test their website upgrades over the past 20 years, so that you can upgrade faster, more efficiently, more often and with better results. Read More

CASE STUDY: How Global Manufacturer ESAB Saved Time, $ and Headaches with their Website Upgrade
ESAB leveraged a new cloud-based visual testing tool designed specifically for website upgrades to automate and streamline their testing efforts. Using the tool saved an estimated three weeks of manual testing time, increased accuracy significantly, and gave the team peace of mind that there were no lurking surprises. Read More
